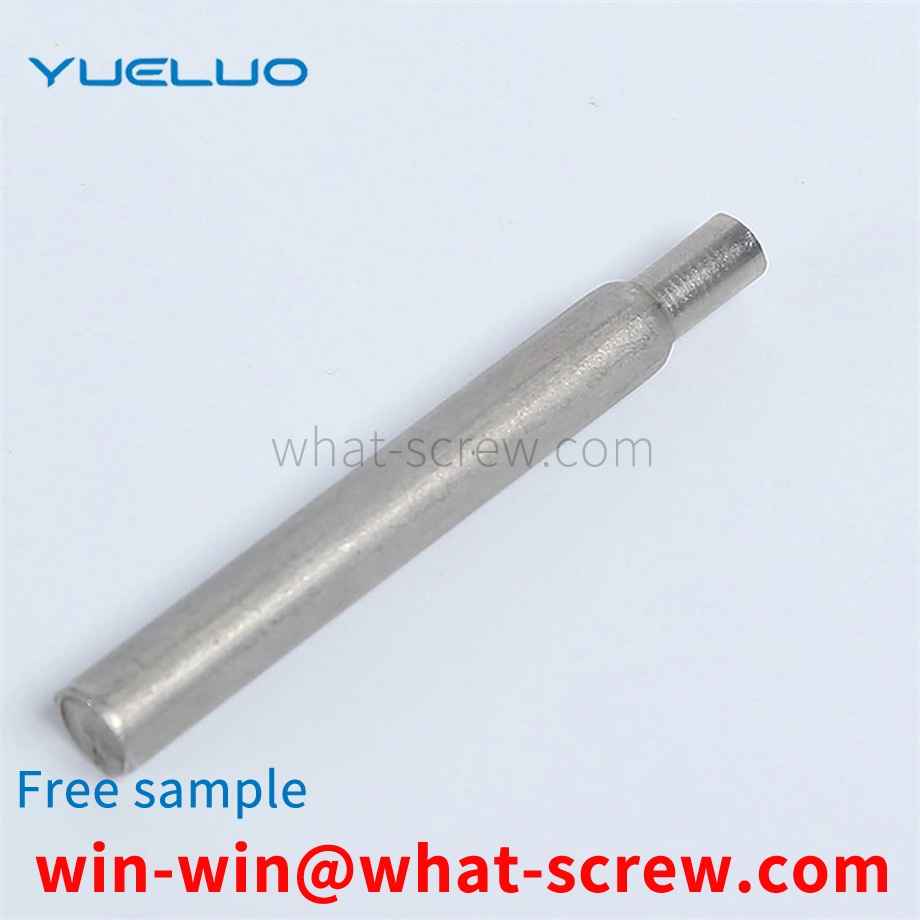
The positioning pin is a pin designed to accurately position the two adjacent parts of the mold in a mold composed of two or more parts. It can be seen that the positioning pin plays a positioning role, and the mold must be accurately synchronized when it is closed. product, and the positioning pin can make the upper and lower molds play a role in accurate positioning. In the mold design and manufacture of Yueluo, the positioning pin is one of the most common parts. Since it is only used for positioning between parts, few people will pay too much attention to it. In the cold stamping process of Yueluo, the dimensional accuracy of the blanking parts depends on the size of the working part of the punch and the concave die, and the dimensional difference between them constitutes the blanking die gap. Gap is an important process parameter for die design, and its size has a great influence on the quality of the section of the blanking part, the blanking force, and the life of the die. If the gap is too large, punching burrs will appear in punching; if the gap is too small, secondary cracks will occur in the section and extrusion burrs will appear, which will make the quality of the section after punching unsatisfactory, and a reasonable gap will not only help the punching section. The improvement of quality also contributes to the improvement of the lifespan of the three-tool.
Pins are widely used. In the connection of the rotating mechanism of two moving components, such as the crank mechanism, the turning mechanism, the connection between the hydraulic cylinder and the moving parts, the pins are used. kind. In order to ensure the normal use of the running equipment and prevent the cylindrical pin from slipping out and falling off during use, some anti-falling methods are usually used at the head of the pin, such as 1. Drill holes and insert cotter pins to prevent the pins from slipping out; 2. The external thread is tightened with a nut to prevent the pin from slipping out; 3. The slot is clamped with a circlip to prevent it from slipping out, etc. These measures make the cylindrical pin very practical in the case of infrequent disassembly and assembly, but in the actual use of the field, in order to prevent the collision of some equipment during each troubleshooting or maintenance, the pin needs to be pulled out and turned up, etc. After the failure or maintenance is completed, put down and then insert the pin to restore, this process will bring trouble to the actual operator. For example, special tools must be brought with you every time you disassemble and assemble the pin, and the split pin or the circlip is easily damaged after repeated disassembly and assembly. , In order to save trouble, the operator sometimes uses iron wire to thread or fasten it instead, and even does not remove the pin for the sake of speed and convenience, which is easy to cause damage to the equipment when dealing with faults.
Guangdong Yueluo Hardware Industry Co., Ltd. provides a kind of rivet, parts and parts are riveted by the rivet, the part has a fixed plate and a fixed plate, and the part is located between the fixed plate and the fixed plate, The rivet includes a nail head, a nail post and a nail post which are connected in sequence, the diameter of the nail post is larger than the diameter of the nail post, the nail head is matched with the outer end surface of the fixing plate, and the length of the nail post is It is greater than the sum of the riveting length of the fixing plate and the riveting length of the part. The rivet can control the distance between the parts, so that the relative rotation of the two parts is more smooth and easy to operate.
When using screws, if you can understand the mechanical properties of screws first, then you can use screws better. Different types of screws have different mechanical properties, and the different mechanical properties lead to different occasions when screws are used. 1. Self-tapping screws: mechanical performance requirements 1. Heart hardness: standard value HRC28-38. When testing, take the section 1-2 times the diameter of the name from the tail. If the length of the name is too short, it can be embedded first, and then the hardness is measured. 2. Surface hardness: standard MIN HV450. 3. Carburized layer: standard 4#-6#: 0.05-0.18mm, 8#-12#: 0.10-0.23 mm, 14#: 0.13-0.28 mm. The main purpose of carburizing is to enhance the surface hardness and ensure the strength of the teeth. If the decarburization is too deep and the carburization is insufficient, the strength of the teeth will not meet the requirements, that is, the teeth will be damaged during the screw-in test. 4. Torque: standard specification 4#5#6#7#8#10#12#14#A tooth 14212835455696145AB tooth 142128354565102165. 5. Screw-in test: screw the self-tapping screw into a steel plate with a reserved test hole. The self-tapping screw should form a matching thread in the test plate, and the thread of the screw itself will not be deformed or damaged until the end. Tapered threads pass completely through the test plate. The screw-in test is only applicable to AB, B, BP and other types of self-tapping screws. It is stipulated in IFI that the test plate shall be prepared from semi-hard low-carbon cold-rolled steel, and the hardness of the steel plate is 70–85HRB in Rockwell. The standard specification of the steel plate, that is, the thickness, is shown in the table below. The test hole should be punched or drilled, and the tolerance is the specified nominal diameter (see the table below) ± 0.025mm. Specifications 6#7#8#10#12#1/4 Test plate thickness (mm) 1.85-1.953.12-3.234.68-4.84 Aperture (mm) ±0.0252.953.263.454.044.765.50.
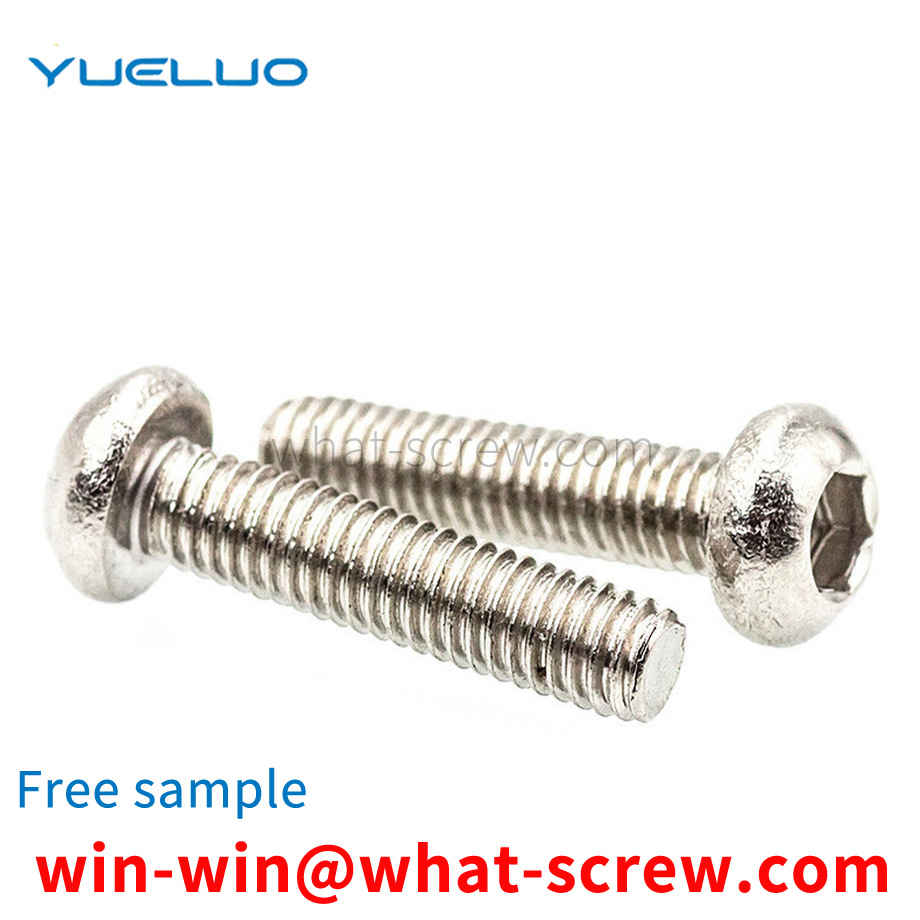
screw suitable for a variety of tools is a single-structure threaded part, including a screw body and a screw head. The outer surface of the screw body is processed with an external thread 1, and the outer side of the screw head is formed by six screw heads. Prismatic, the top surface of each edge of the outer hexagonal prism is a boss, between each boss is an end face groove 4, and the middle of each boss is provided with an end face hole 3; the inner side of the screw head is formed by six screw heads. The side surface 5 forms an inner hexagonal prism hole, and the bottom of the inner hexagonal prism hole is processed with a cross groove 12 .
We have many years of experience in the production and sales of screws, nuts, flat washers, etc. The main products are: Yuanbao butterfly screw, locomotive modification accessories, hemispherical head bolts, 304 cylindrical nuts and other products, we can provide you with suitable fasteners for you solution.


 Service Hotline


