The rod end of the ceramic production equipment is installed with the rod shaft, and then fixed by the cylindrical pin. At present, it is purely manual installation. It is impossible to ensure that the cylindrical pin is kept horizontal during the installation process, and the installation pressure of the cylindrical pin cannot be sensed. The pressure is too large. Cracks in the rollers, too low pressure, and easy loosening of the metal cap; it is impossible to install three or more cylindrical pins at the same time, and it is difficult to align the cylindrical pins with the pin holes of the cylindrical pins, resulting in low efficiency.
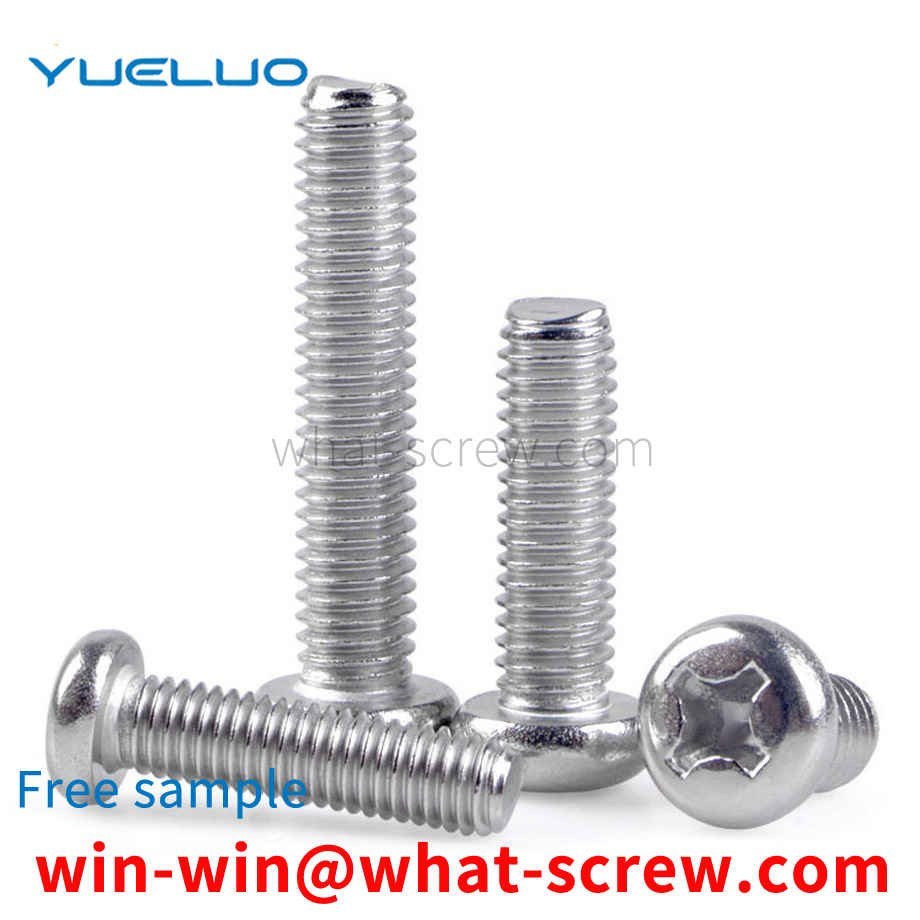
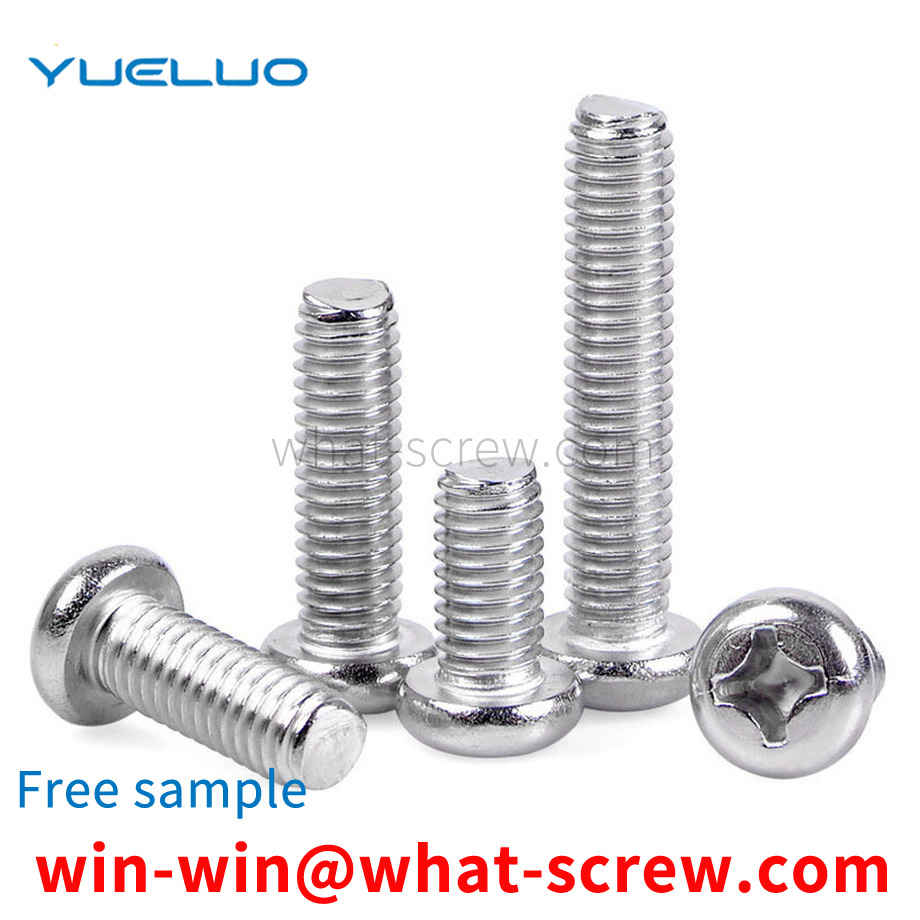
One of the steps in the screw production and processing process is to slot the screw head to facilitate the use of a screwdriver when tightening or loosening the screw. Generally, companies use manual sorting, and then use the cutting knife to slot the front end screws through the track, which is inefficient, and because the screws are not fixed, the cutting knife may easily fly out or break the blade during cutting. It is a safety problem, and after cutting, the screw head has rough workmanship and burrs, which is easy to hurt the hand.
Supporting T-bolts for pre-embedded channels, including hot-rolled pre-embedded channels, the lower part of the pre-embedded channel is provided with a longitudinal opening, and the head of the T-bolt enters from the opening and is clamped in the pre-embedded channel. There are plane teeth at the connection between the buried channel and the T-bolt, and the T-bolt has a tooth-shaped structure matched with the plane teeth. The direction of the teeth is parallel to the slotting direction, and the tooth-shaped cooperation achieves anti-slip effect. However, when the nut tightened on the T-bolt becomes loose, it will cause the T-bolt to move into the embedded channel and lose the toothed fit, thus changing the fixed position of the T-bolt in the embedded channel.
At present, with the development of the manufacturing industry, many parts with strange shapes are widely used in aviation, aerospace and other industrial fields, one of which is an L-shaped cylindrical pin. The upper end is provided with a 2.55×4.95 U-shaped boss. The parallelism error between the upper end face and the lower end face of the boss is required to be less than 0.01 mm. The L-shaped cylindrical pin requires high machining accuracy and is difficult to clamp on the machine tool. It is difficult to process. When the forming part is cut off, the cut surface, that is, the upper end surface of the boss, will leave a small column platform. When processing this end surface, in the prior art, a vise is generally used to process such an L-shaped cylindrical pin. Or copper sleeves are clamped, and then processed; however, due to the small size of the parts, the L-shaped cylindrical pin workpiece is difficult to clamp; due to the high precision required for each machined surface of the workpiece, when clamping with a vise , the clamping force of the vise is difficult to control, and it is easy to crush and scratch the surface of the workpiece; and when using a vise or a copper set clamp, only one workpiece can be clamped for each processing and production, and it is difficult to ensure the upper and lower planes of the parts after the clamping is completed. Parallelism machining error, resulting in low parts processing quality and low production efficiency.
(1) The screw-in performance test is to screw the self-tapping locking screw sample into the test plate until one complete thread completely passes the test without breaking. (2) The destructive torque test is to clamp the stem of the self-tapping locking screw specimen in a thread mold or other device that matches the screw thread, and uses a calibrated torque-measuring device to measure the screw. Torque is applied until fracture, which should not occur in the clamped threaded portion. (3) Carry out a tensile test on the screw sample to check the minimum tensile load for failure. The fracture should be within the length of the rod or the unthreaded thread, and should not occur at the junction of the nail head and the rod. Before the sample breaks, it should be It can reach the minimum tensile load specified by the corresponding performance class. (4) Hydrogen embrittlement is a problem that must be strictly paid attention to in the surface treatment process of self-tapping locking screws. In the pickling process, the screw is stirred in dilute hydrochloric acid, and the amount of hydrogen absorbed by the pickling steel increases linearly with the square root of time and reaches the saturation value. Less than 100%, a large number of hydrogen atoms will be produced, which will be attached to the surface of the screw, resulting in hydrogen infiltration, and the steel will become brittle due to the absorption of hydrogen. The self-tapping locking screw takes 6~8h to drive hydrogen, and the temperature is 160~200℃ (phosphating) and 200~240℃ (electroplating). However, in the production process, the hydrogen drive time should be determined according to many production conditions such as core hardness, surface roughness, electroplating time, coating thickness, pickling time, and acid concentration. It is best to do it before passivation and just after electroplating.
We have many years of experience in the production and sales of screws, nuts, flat washers, etc. The main products are: Grade 10 GB6172 Hexagon Thin Nuts, Half Round Head Square Neck Carriage Bolts, Extended Hexagon Screws, Medium Hexagon Screws and other products, we can provide you with suitable products. Your fastener solution.


 Service Hotline


