Locating pins are widely used in mechanical equipment and automated assembly lines. There are many types of locating pins, including fixed locating pins, replaceable locating pins, tapered locating pins, edged locating pins, standard diamond locating pins, spring locating pins, etc. The function is to limit the free movement of parts and objects. Users often choose different positioning pins according to the actual conditions of the parts, for example, according to the occasion of use, requirements and performance, etc., to reasonably choose positioning pins of different shapes and performances. At present, users usually use a combination of cylindrical pins and edge-cutting positioning pins as the positioning method for gripper positioning methods in automatic line accompanying tooling and automatic grasping.
The national standard name of the cross recessed small pan head three-combination screw is the cross recessed small pan head screw, the spring washer and the flat washer assembly. The national label is GB/T9074.8-1988. This 1988 refers to the year, that is, this standard is the standard issued by the country in 1988. The specifications of the cross recessed small pan head three-combination screw, our company's minimum is M2.5, the shortest is 5mm, the largest is M10, and the longest is 90mm. Of course, as customers have higher and higher requirements for small pan head combination screws, or require smaller and longer combination screws. If the quantity is large, or with the development of our company. Buy some advanced combination screw machines. Come and go to meet the higher requirements of our customers.
When using screws, if you can understand the mechanical properties of screws first, then you can use screws better. Different types of screws have different mechanical properties, and the different mechanical properties lead to different occasions when screws are used. 1. Self-tapping screws: mechanical performance requirements 1. Heart hardness: standard value HRC28-38. When testing, take the section 1-2 times the diameter of the name from the tail. If the length of the name is too short, it can be embedded first, and then the hardness is measured. 2. Surface hardness: standard MIN HV450. 3. Carburized layer: standard 4#-6#: 0.05-0.18mm, 8#-12#: 0.10-0.23 mm, 14#: 0.13-0.28 mm. The main purpose of carburizing is to enhance the surface hardness and ensure the strength of the teeth. If the decarburization is too deep and the carburization is insufficient, the strength of the teeth will not meet the requirements, that is, the teeth will be damaged during the screw-in test. 4. Torque: standard specification 4#5#6#7#8#10#12#14#A tooth 14212835455696145AB tooth 142128354565102165. 5. Screw-in test: screw the self-tapping screw into a steel plate with a reserved test hole. The self-tapping screw should form a matching thread in the test plate, and the thread of the screw itself will not be deformed or damaged until the end. Tapered threads pass completely through the test plate. The screw-in test is only applicable to AB, B, BP and other types of self-tapping screws. It is stipulated in IFI that the test plate shall be prepared from semi-hard low-carbon cold-rolled steel, and the hardness of the steel plate is 70–85HRB in Rockwell. The standard specification of the steel plate, that is, the thickness, is shown in the table below. The test hole should be punched or drilled, and the tolerance is the specified nominal diameter (see the table below) ± 0.025mm. Specifications 6#7#8#10#12#1/4 Test plate thickness (mm) 1.85-1.953.12-3.234.68-4.84 Aperture (mm) ±0.0252.953.263.454.044.765.50.
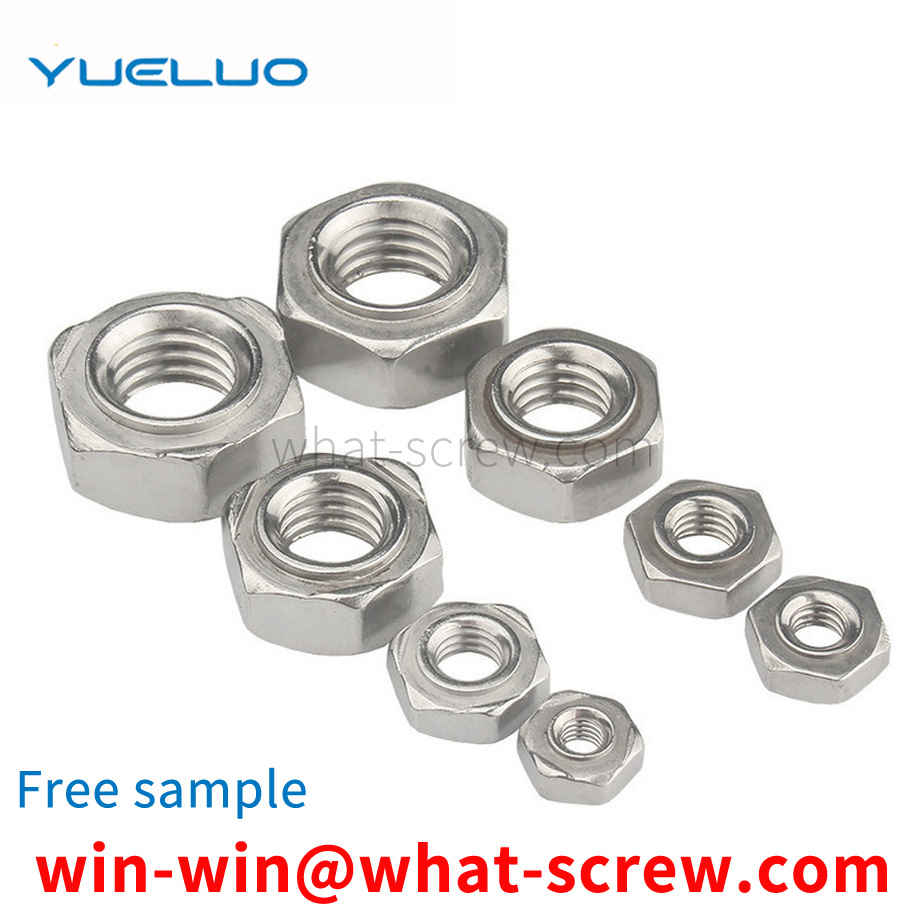
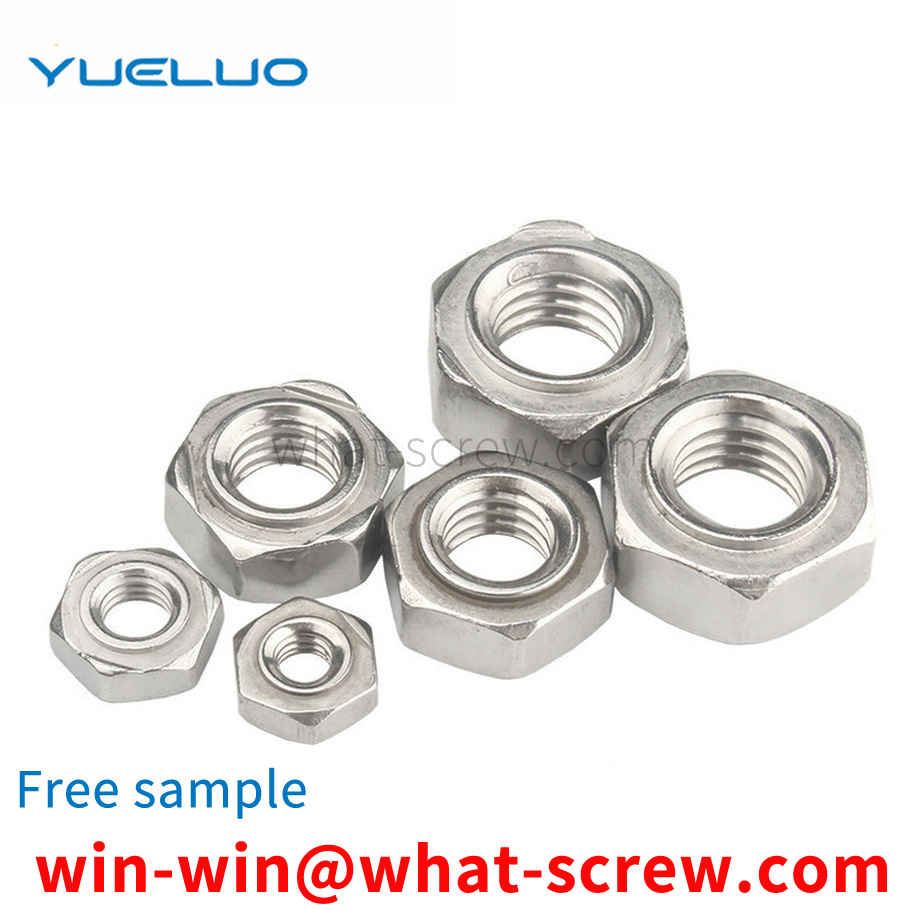
Guangdong Yueluo Hardware Industry Co., Ltd. relates to a rivet nut fastener, which includes a body, and the rivet part of the body extends into the product to be processed. It is characterized in that trapezoidal teeth are formed on the joint surface of the body and the product to be processed. Or triangular teeth, there is a circular groove below it, and the height of the riveting part is 0.5-1mm smaller than the thickness of the processed product. Guangdong Yueluo Hardware Industry Co., Ltd. is suitable for riveting of any sheet metal materials, such as carbon steel plate, copper plate, aluminum plate, stainless steel plate, aluminum alloy plate, etc. Solid, high riveting surface flatness, providing good electrical contact performance.
Inch Screws C-1: Thread Code: The denominator is marked as 8, and then the numerator is directly called the number. Ex: 1/8 x 0.50 –PPB: 1 Thread screw x 0.50” long, PPB Ex: 5/16 x 0.50 –PPB = 2.5/8 x 0.50-PPB : 2 ½ inch screw x 0.50” long, PPB Ex: 5/32 x 0.50 –PPB =1.25/8 x 0.50-PPB: 1 ½ ½ inch screw x 0.50” long , PPB Ex: 1/4 x 0.50-PPB= 2/8 x 0.50-PPB: 2-point screw x 0.50” long, PPB Note: Coarse or fine pitch is sometimes indicated. UNF: Fine pitch: more commonly used in the electronics industry UNC: Coarse Thread: More commonly used for heavy machinery construction. Ex: 3/8 x 0.50, UNF –PPB: 3 point fine thread screw x 0.50” long, PPB. C-2: Length Code: In inches, must be multiplied by 25.40 is converted to mm. Measured with a buckle gauge, it is a metric thread when it matches the metric thread, and an inch thread when it matches the inch thread. You can also use a caliper to measure the outer diameter and pitch of the thread. The outer diameter of the metric thread is in millimeters, Such as 6, 8, 10, 12, 18, 20 mm, etc., the pitch is also in millimeters, such as 0.5, 0.75, 1, 1.5, 2, 3, etc. The outer diameter of the imperial thread is in inches, (per inch Equal to 25.4 mm) such as 3/16, 5/8, 1/4, 1/2, etc. Therefore, the reading of the outer diameter with a metric caliper often has irregular decimals. The inch pitch is expressed by how many teeth per inch. Set the caliper at 25.4 mm, align one caliper tip with the thread cusp, and the other caliper tip, if aligned with the thread cusp, is an inch thread, and if the thread cusp is not aligned, it should be a metric thread. The tip is printed on the white chalk. The chalk is clear and easy to measure. To measure the metric pitch, you should measure a length, such as 10, 15, 20, millimeters, etc., count how many teeth are included, and calculate the pitch in inches. The specified thread specification is inch thread, such as: G1. Metric threads are specified in metric units of millimeters. Such as: M30. The imperial system is determined by how many teeth there are in one inch (2.54 cm), generally a 55-degree angle. The metric system is the pitch determined by the distance between the two tooth tips, usually a 60-degree angle anchor screw: tighten the machine, etc. Screws for use on the ground. Also called anchor bolts. The difference between British and American screws is difficult to distinguish visually. The difference between British and American screws is that the rolling angle of British screws is 55 degrees, while the rolling angle of American screws is 60 degrees. These two standard screws are used in most screws. It can be used in general, but 1/2 size screws are not allowed, because the standard thread of inch 1/2 is 1/2-12 teeth, while the American system is 1/2-13 teeth.
We have many years of experience in the production and sales of screws, nuts, flat washers, etc. The main products are: external hexagonal screw screws, copper nickel-plated rivets, carbon steel nickel-plated nuts, mold flange pressure plate nuts and other products, we can provide you with suitable products for you fastener solutions.


 Service Hotline


