Process equipment for aircraft production (hereinafter referred to as tooling) is directly used for part forming and component assembly. In order to satisfy the loading and unloading of aircraft parts and components during the use of the tooling, the tooling generally adopts a structural form that is easy to disassemble as a whole. In the field of aircraft process equipment manufacturing, positioning pins are usually used to connect and position the detachable parts of the tooling. At present, this kind of locating pin is divided into two types: direct pull-out locating pin and tie-suspended locating pin.
At present, most of the thread locking structures use an integral nut and a matching external thread screw structure. To remove the nut from the screw rod, it must be completely unscrewed along the screw rod, which is time-consuming and labor-intensive. It is more inconvenient to install.
Procurement and sales in the testing process know that the quality of screws is manufactured, not detected, but in manufacturing, we must try our best to make them as good as possible. But it is unlikely to be completely error-free and error-free. We all know that errors are unavoidable and can only be approached infinitely. Therefore, at this time, the quality inspection of the screw is required to improve the quality of the screw. At the beginning of ordering from screw wire material into the production of screw industry manufacturers, you must first check the wire diameter of the screw wire and the material of the screw. Generally, the wire diameter of the screw is measured with a caliper to measure the size of the wire diameter, whether it is suitable for self-ordering. Same size. After testing these, it is the testing in the production process, starting from the head of the screw, to determine the size of the head, the opposite side of the head, the diagonal angle, the depth of the cross groove, the tolerance range of the screw, and so on. These are checked with calipers. In the inspection of all aspects when rolling teeth, the main thing is whether the thread can pass the pass and stop gauge, and whether the screw thread can pass the gauge and stop. Next is the electroplating measurement problem. After electroplating, whether it meets the requirements of environmental protection and whether it can pass the time required by the salt spray. Tools include environmental testing machines and salt spray testing machines. In short, in the process of screw production and sales, there must be necessary tools to detect the quality of screws. The summary should be summarized as follows: calipers, hardness testers, salt spray machines, environmental testing machines, pass and stop gauges, etc. When producing and selling screws, there will be a screw specification and screw model. With the screw specification and screw model, we can understand what specification screw and what size screw the customer needs. Many screw specifications and screw models are based on national standard specifications and models. Generally, such screws are called ordinary screws, which are generally available on the market. There are some non-standard screws, which are not based on the national standard specifications, models and sizes, but are customized according to the standards required by the product materials. There is no stock in the general market at all. In this way, it is necessary to make drawings and samples.
The inner hole retaining ring groove processing mechanism is characterized in that: it comprises a pneumatic grinder fixed block installed on the tool table of the lathe, a pneumatic grinder installed on the pneumatic grinder fixed block and a grinding wheel piece installed on the front end of the pneumatic grinder; The pneumatic grinder mounting block is provided with a pneumatic grinder installation through hole, and there are at least 2 screw holes above the pneumatic grinder installation through hole; the grinding wheel is designed according to the diameter of the product and the thickness of the groove width, in order to increase the strength of the grinding wheel , Add flanges at both ends of the grinding wheel to improve the strength of the grinding wheel. The grinding wheel piece includes the connecting blade on the flange plate. The center of the flange plate is provided with a mounting hole installed on the pen-type pneumatic grinder. The diameter of the mounting hole is 17.8- 18mm, the diameter of the grinding wheel is 18-20mm.
Guangdong Yueluo Hardware Industry Co., Ltd. provides a kind of rivet, parts and parts are riveted by the rivet, the part has a fixed plate and a fixed plate, and the part is located between the fixed plate and the fixed plate, The rivet includes a nail head, a nail post and a nail post which are connected in sequence, the diameter of the nail post is larger than the diameter of the nail post, the nail head is matched with the outer end surface of the fixing plate, and the length of the nail post is It is greater than the sum of the riveting length of the fixing plate and the riveting length of the part. The rivet can control the distance between the parts, so that the relative rotation of the two parts is more smooth and easy to operate.
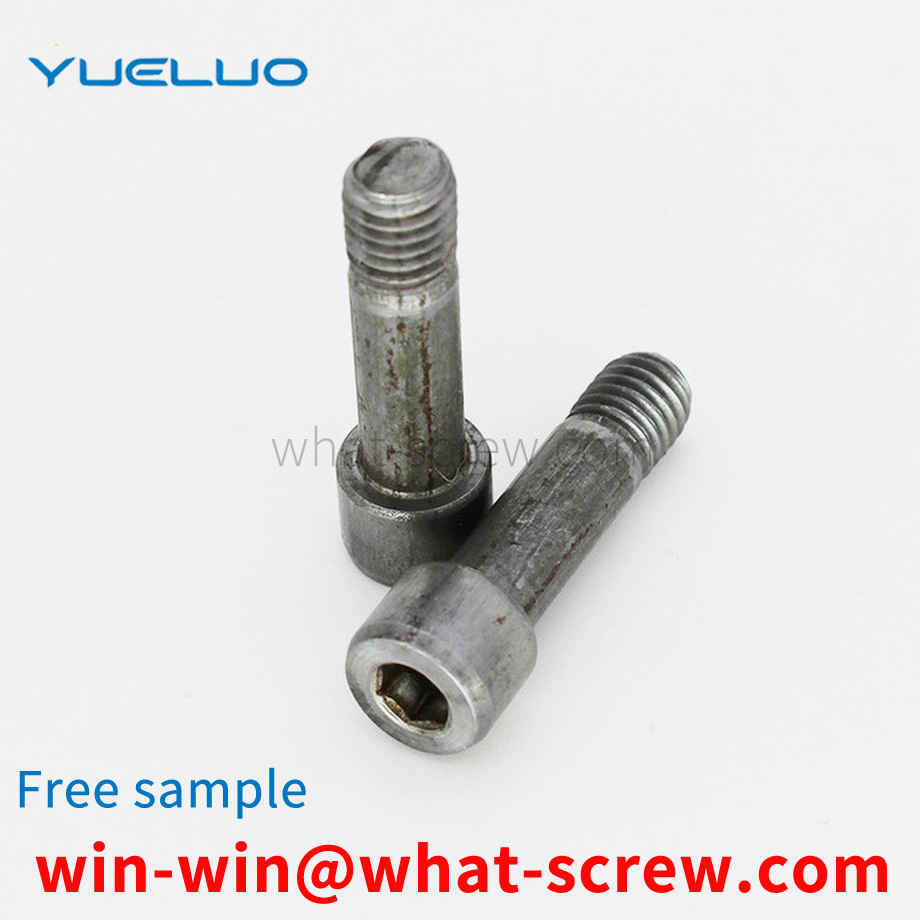
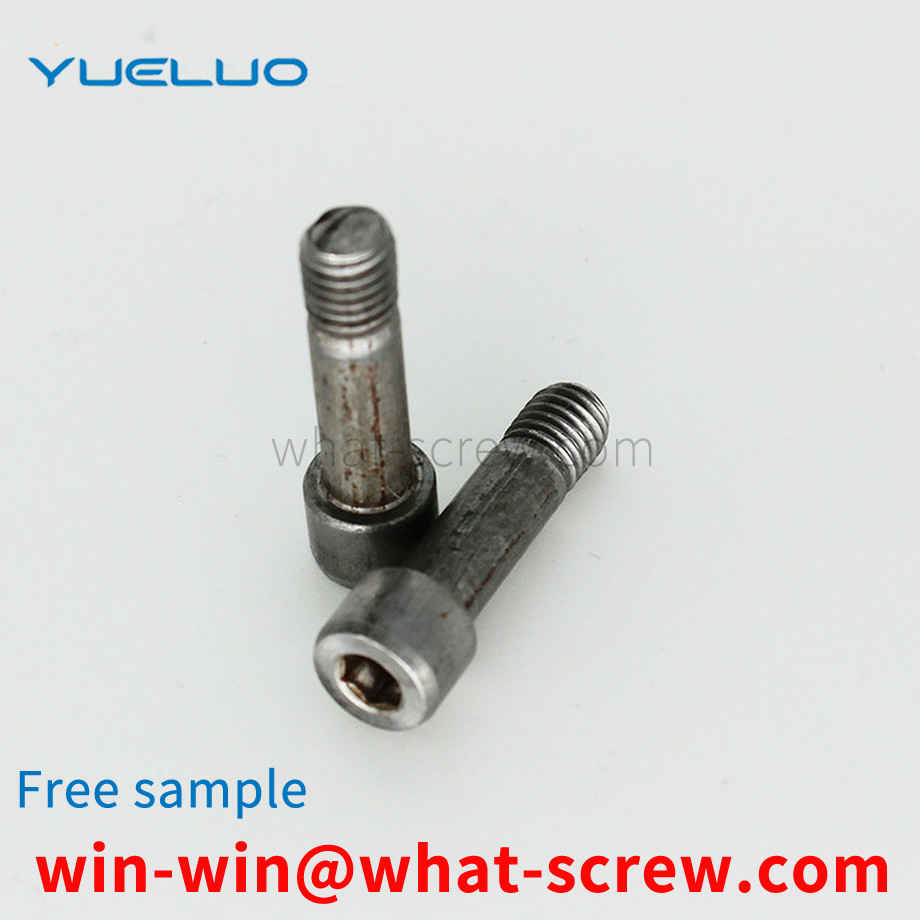
We have many years of experience in the production and sales of screws, nuts, flat washers, etc. The main products are: left-handed external hexagon screws, aluminum alloy knurled nuts for tripods, screws and nuts for furniture connectors, furniture connection nuts and other products, we can Provide you with the right fastener solution for you.


 Service Hotline


