① Nominal thread outer diameter (thread specification): divided into metric system and inch system. Metric thread → common specifications are 2; 2.3; 2.5; 2.6; 2.9; 3; 3.1; 3.5; 4; 4.2; 4.5; The unit is mm (millimeters). Inch thread→ Common specifications are 2#;4#;6#;8#;10#;12#;1/4;7/32;5/16;3/8;1/2 ;9/16;3/ 4. The unit is in (inches). ② Number of teeth/pitch: Definition of number of teeth → the number of teeth lines in one inch (25.4mm) length. Pitch Definition → Distance value between two adjacent threads. Conversion of number of teeth and pitch of teeth → pitch of teeth = 1 inch/number of teeth ③Nominal length: divided into metric system and inch system. Metric Nominal Length → Common values are 5, 6, 6.5, 7, 8, 9, 9.5, 10, 11, 12, 13, 14, 15, 16, 18, 19, 20, 21, 25, 28, 30, 31 , 32, 35, 40, 42, 45, 50, 55, 60, 65, 70, 75, 80, 85, 90, 95, 100, 110, 120. The unit is mm (millimeters). Imperial Nominal Length → Common values are 1/4, 5/16, 3/8, 7/16, 1/2, 5/8, 3/4, 1, 2, 3. Units: in (inches). ④Head type: use letters to indicate the type of head type, please refer to the previous classification of commonly used screw head types. ⑤Tooth type/tail type: Use letters to indicate the type of tooth type/tail type, please refer to the previous Commonly used screw thread/tail type classification. ⑥Groove type: Please refer to the previous section Category of common screw groove types of our company. Cross-slotted or non-slotted (such as punched hexagon head screws) do not need to be marked here, and other groove types need to be described in words. ⑦Special labeling: In general, no labeling is required. When expressing its characteristics, it is described in words at this position. For example: the specification name of the screw is described as 4-0.7x70PM±tooth length 35, which means 4 is the nominal diameter of the screw thread, 0.7 is the pitch, 70 is the nominal length of the screw, and P means its The head type is a pan head, M means its tooth type/tail type is a wire thread type, ± means its groove type is ± groove and can also be expressed by plus or minus groove. Tooth length 35 is special Mark, specify the thread length value of this screw.
Fastening of such functional elements in flat gaskets is usually achieved by additional measures or by a special design of an additional, functional layer adjacent to the carrier layer, or by a special design of the parts to be sealed. Fastening the functional elements in this way is laborious and expensive, and is only possible for special gasket designs.
The square nut is a fastener that needs to be used in the installation of the cable tray. In the prior art, the square nut 1 is pressed by the elastic force of the spring 2 below it and the opening of the C-shaped steel 3 (as shown in Figure 1, Figure 2), in the absence of external force, through the interaction of pressure and static friction, the C-shaped steel 3 will not move vertically or horizontally, which can facilitate engineering installation. The advantage of this installation method is that it can slide anywhere on the C-shaped steel 3, but the disadvantage is that it occupies the bottom space of the C-shaped steel 3, and the spring 2 will interfere with the installation hole of the square nut I, which affects the installation.
Guangdong Yueluo Hardware Industry Co., Ltd. provides a screw positioning pin, which is composed of a main body part and an insert part. The main body part is a circular boss structure, and the bottom of the circular boss structure is provided with a rectangular groove. The inserting part is fixed on the middle part of the upper surface of the main body part, the lower part of the inserting part and the contact section of the main body part are in a circular truncated structure, the upper part of the inserting part is a cylindrical structure, and the outer surface of the cylindrical structure is provided with threads; the screw positioning pin , The structure is simple and the design is ingenious. The special structural design of the main part and the insert part can be positioned between the punch and the die in the first processing process, effectively reducing the gap formed during the processing between the punch and the die. Firmly fixed, suitable for the needs of large-scale industrial production.
ANSI B1.1 Thread Pitch Comparison Table Nominal Diameter (inch〖mm〗) Coarse Thread Pitch (UNC) Fine Thread Pitch (UNF) Ultra Fine Thread Pitch (UNEF) Drilling Diameter (Coarse Thread) Drilling Diameter (Fine Thread) #0 0.060 〖1.524〗 80 1.2 # 1 0.073 〖1.5 1.5 # 2 0.086 〖2.8 # 3 0.099 〖2.515〗 48 56 2.0 2.1 # 4 0.112 〖2.4 # 5 0.125 〖 3.175〗 40 44 2.5 2.6 # 6 0.138 〖3.50〗 32 40 2.7 2.9 # 8 0.164 〖4.166〗 32 36 3.4 3.5 # 10 0.190 〖4.0 # 12 0.216 〖5.486〗 24 28 32 4.5 4.6 1/4 6.35 20 28 32 5.1 5.4 5/16 10.7 11.5 9/16 〖14.288〗 12 18 24 12.3 13.1 5/8 〖15.875〗 11 18 24 13.5 14.7 3/4 〖19.05〗 10 16 20 16.7 17.5 7/8 〖22.125 2.4 9 14 〗 8 12 20 22.2 23.4 The pitch is expressed by the number of teeth per inch, such as: 11 teeth per inch, then the pitch=25.4/11=2.309mm. The unit of pitch in the table is the number of threads per inch. The hole diameter is the recommended hole size for tapping, in millimeters.
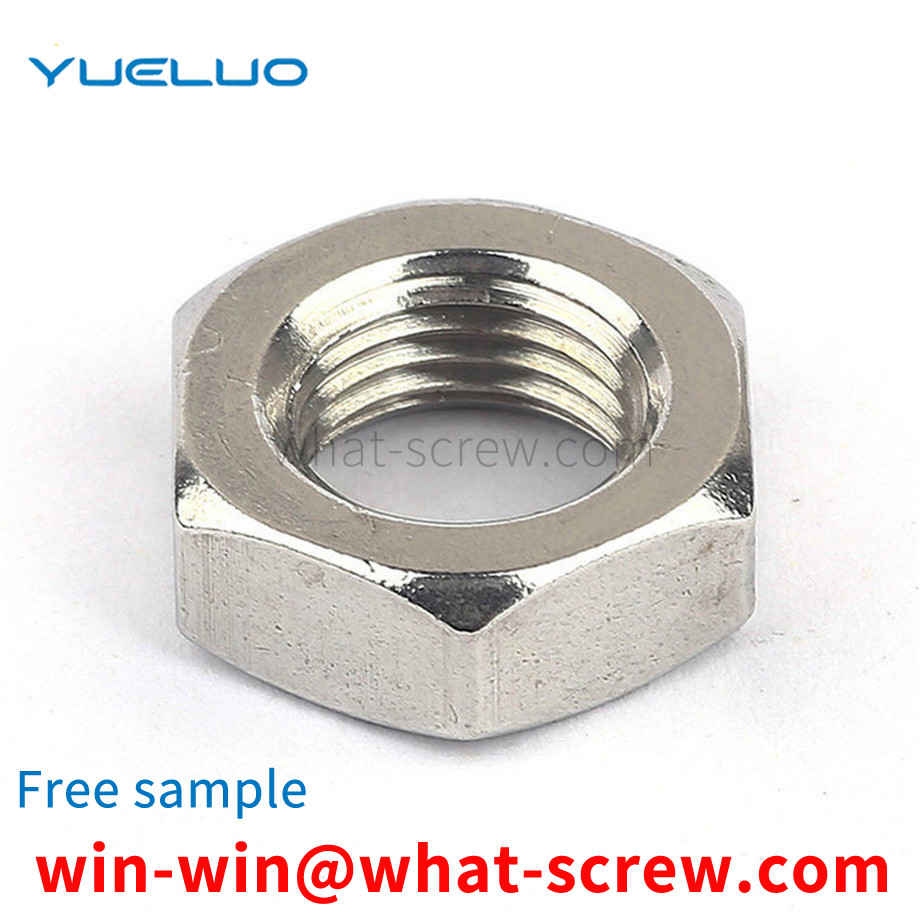
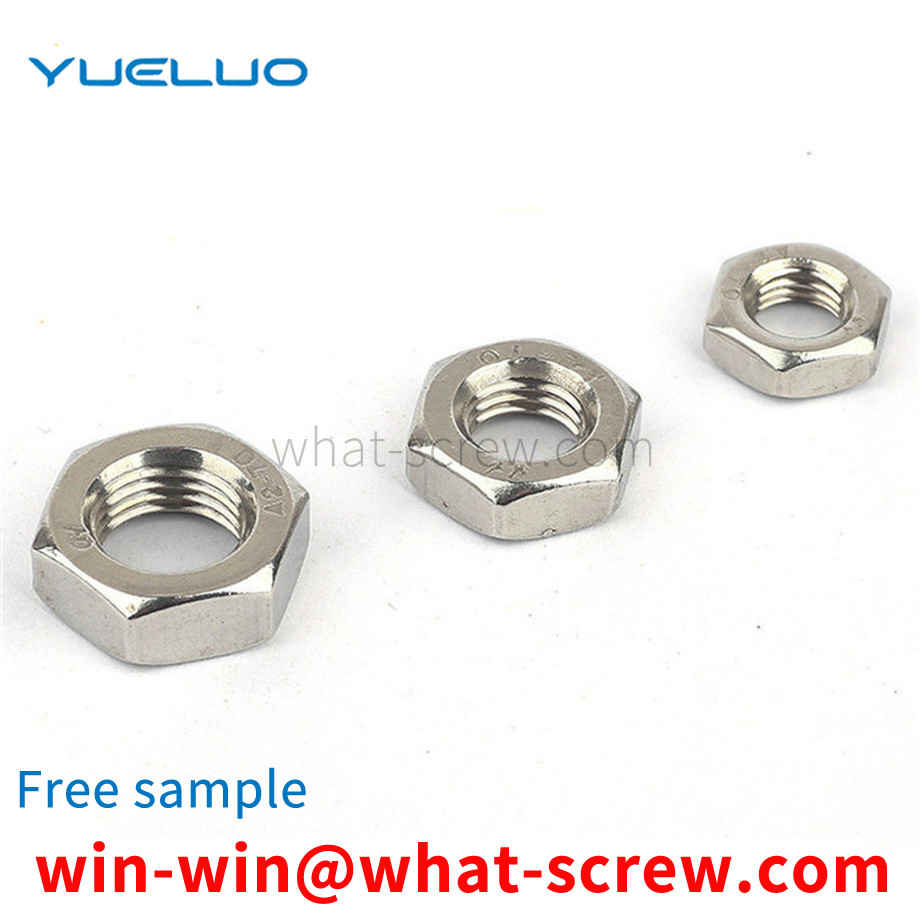
We have many years of experience in the production and sales of screws, nuts, flat washers, etc. The main products are: heavy industry bolts, square nuts, thread bar screw screw joint nuts, left-handed external hexagon screws and other products, we can provide you with suitable products for you fastener solutions.


 Service Hotline


