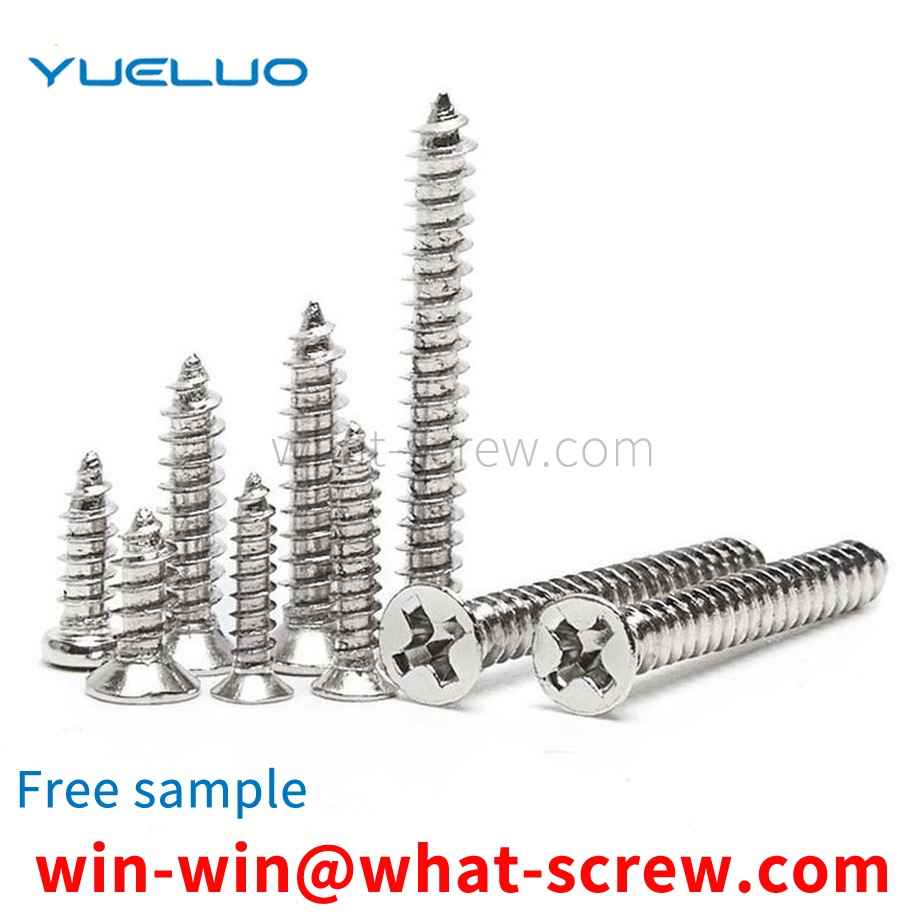
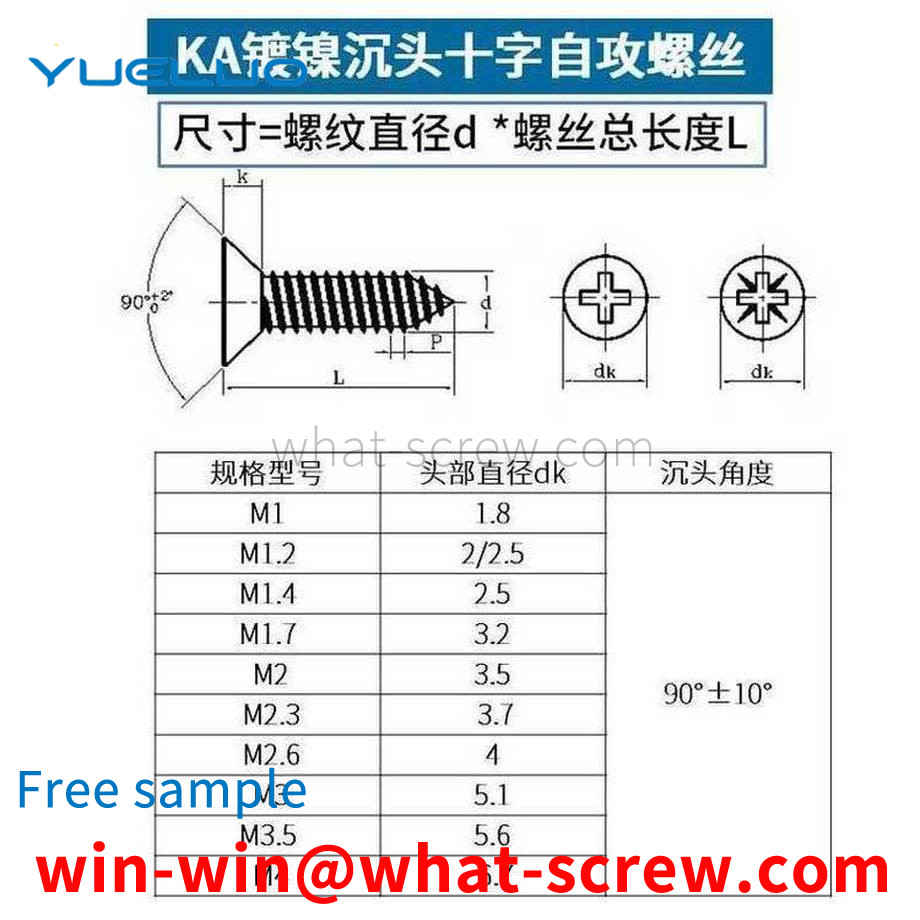
When using screws, if you can understand the mechanical properties of screws first, then you can use screws better. Different types of screws have different mechanical properties, and the different mechanical properties lead to different occasions when screws are used. 1. Self-tapping screws: mechanical performance requirements 1. Heart hardness: standard value HRC28-38. When testing, take the section 1-2 times the diameter of the name from the tail. If the length of the name is too short, it can be embedded first, and then the hardness is measured. 2. Surface hardness: standard MIN HV450. 3. Carburized layer: standard 4#-6#: 0.05-0.18mm, 8#-12#: 0.10-0.23 mm, 14#: 0.13-0.28 mm. The main purpose of carburizing is to enhance the surface hardness and ensure the strength of the teeth. If the decarburization is too deep and the carburization is insufficient, the strength of the teeth will not meet the requirements, that is, the teeth will be damaged during the screw-in test. 4. Torque: standard specification 4#5#6#7#8#10#12#14#A tooth 14212835455696145AB tooth 142128354565102165. 5. Screw-in test: screw the self-tapping screw into a steel plate with a reserved test hole. The self-tapping screw should form a matching thread in the test plate, and the thread of the screw itself will not be deformed or damaged until the end. Tapered threads pass completely through the test plate. The screw-in test is only applicable to AB, B, BP and other types of self-tapping screws. It is stipulated in IFI that the test plate shall be prepared from semi-hard low-carbon cold-rolled steel, and the hardness of the steel plate is 70–85HRB in Rockwell. The standard specification of the steel plate, that is, the thickness, is shown in the table below. The test hole should be punched or drilled, and the tolerance is the specified nominal diameter (see the table below) ± 0.025mm. Specifications 6#7#8#10#12#1/4 Test plate thickness (mm) 1.85-1.953.12-3.234.68-4.84 Aperture (mm) ±0.0252.953.263.454.044.765.50.
At present, with the development of the manufacturing industry, many parts with strange shapes are widely used in aviation, aerospace and other industrial fields, one of which is an L-shaped cylindrical pin. The upper end is provided with a 2.55×4.95 U-shaped boss. The parallelism error between the upper end face and the lower end face of the boss is required to be less than 0.01 mm. The L-shaped cylindrical pin requires high machining accuracy and is difficult to clamp on the machine tool. It is difficult to process. When the forming part is cut off, the cut surface, that is, the upper end surface of the boss, will leave a small column platform. When processing this end surface, in the prior art, a vise is generally used to process such an L-shaped cylindrical pin. Or copper sleeves are clamped, and then processed; however, due to the small size of the parts, the L-shaped cylindrical pin workpiece is difficult to clamp; due to the high precision required for each machined surface of the workpiece, when clamping with a vise , the clamping force of the vise is difficult to control, and it is easy to crush and scratch the surface of the workpiece; and when using a vise or a copper set clamp, only one workpiece can be clamped for each processing and production, and it is difficult to ensure the upper and lower planes of the parts after the clamping is completed. Parallelism machining error, resulting in low parts processing quality and low production efficiency.
Two combination screws are mostly used for the connection between thin metal plates, and play a connecting role. When connecting, first make a threaded bottom hole for the connected piece, and then screw the combination screw into the threaded bottom hole of the connected piece. Since the threaded surface of the combination screw has high hardness, the inner thread can be tapped in the threaded bottom hole of the connected piece to form a connection.
Stainless steel screws do not necessarily corrode and rust, but that stainless steel screws have a stronger ability to withstand corrosion and rust than iron screws. But stainless steel screws can still rust under certain circumstances. So under what conditions are stainless steel screws prone to rust! What is the cause of rust? Stainless steel screws have better characteristics, strong corrosion resistance, high temperature resistance, and strong rust resistance. But it will rust in harsh environments. For example, stainless steel screws are exposed to the sun and the wind every day under very humid conditions. Over time, it will definitely rust a little. For example, in contact with some acid-base chemicals to cause chemical reactions. cause corrosion and rust. There are also bad stainless steel screws, such as stainless steel SUS201 screws used in seawater. Due to long-term immersion, SUS201 stainless steel screws themselves are not suitable for use in salty seawater. cause corrosion and rust. For the use of marine products, it is generally recommended to use stainless steel SUS316 screws, because 316 stainless steel screws have better performance such as corrosion resistance. From the above, it can be concluded that stainless steel screws will still corrode and rust under certain circumstances. Therefore, this requires the rational use of stainless steel screws. Use stainless steel screws of different materials in different situations. And in different occasions, when using stainless steel screws, special attention is also required, and some details need to be considered more. Try to control the corrosion and rust of stainless steel screws as much as possible.
As a standard part, it should have its own general specifications. For hexagonal nuts, the commonly used standards are: GB52, GB6170, GB6172 and DIN934. The main differences between them are: GB6170 is thicker than GB52, GB6172 and DIN934. Thick from DIN934, commonly known as thick nut. The other is the difference between the opposite sides, the opposite sides of DIN934, GB6170 and GB6172 in the M8 nut series are 13MM smaller than the opposite side 14MM of GB52, and the opposite sides of M10 nuts, DIN934 and GB52 are 17MM. The opposite side of GB6170 and GB6172 should be 1MM larger, M12 nut, DIN934, GB52's opposite side is 19MM larger than GB6170 and GB6172's opposite side 18MM is 1MM larger. For M14 nuts, the opposite side of DIN934 and GB52 is 22MM, which is 1MM larger than the opposite side of GB6170 and GB6172, which is 21MM. The other is the M22 nut. The opposite side of DIN934 and GB52 is 32MM, which is 2MM smaller than the opposite side of GB6170 and GB6172, which is 34MM. (Besides the thickness of GB6170 and GB6172 are the same, the width of the opposite side is exactly the same) The rest of the specifications can be used in general without considering the thickness.
We have many years of experience in the production and sales of screws, nuts, flat washers, etc. The main products are: accessories rivets, hairpin clip pins, knurling machine screws and bolts, spring nuts and other products, we can provide you with suitable fastening products piece solution.


 Service Hotline


